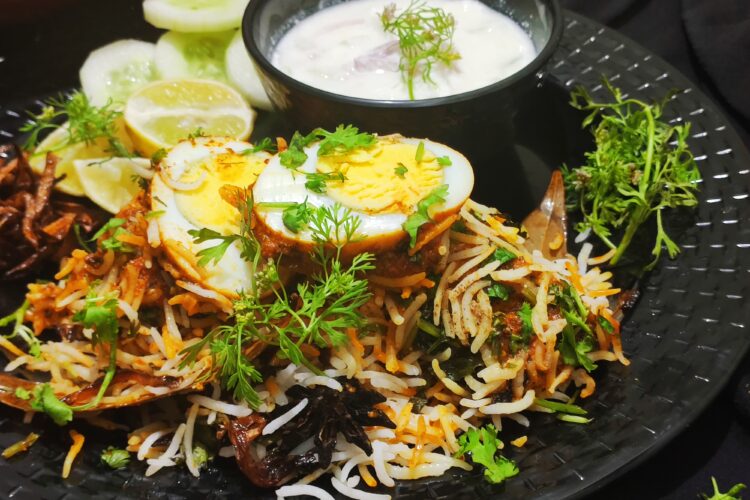
Oh yeah! This is “the” comeback recipe! A flavorful and satiating recipe originating in the kitchens of the Nizam of Hyderabad – Hyderabadi egg dum biryani! This is a must try recipe for all biryani lovers with eggs at its best form.
Ahhhh.. I can see the glow in your eyes for the name biryani! Experience talks! My eyes are also glowing right now thinking about it! When it comes to biryani, it has a special place in every one of our hearts, irrespective of meat or vegetables being used.
So, like other biryani, this Hyderabadi egg dum biryani is also quite time consuming. But, on the other hand, it is also a whole meal, which does not even require a side dish to go with. Yeah, this biryani tastes good as such. But, you can also pair it up with a spicy salan or even with seasoned yogurt / raita.
There are two types of Hyderabadi biryanis -“Kachchi” biryani and “Pakki” biryani. The former is a raw form where we marinate the meat overnight with spices and curd and is then cook it along with the rice directly in the dum process over a slow flame. The later type of biryani uses partially cooked meat and rice and is then layered and cooked for a much lesser time.
So, as I said earlier, the making of this Hyderabadi egg dum biryani has a lot of processes involved. But, don’t y’all get intimidated by the lengthy process. The end biryani is all worth the effort. Although, the preparation of the biryani is quite time consuming, this Hyderabadi egg dum biryani does not require you to marinate anything before-hand. So, you do save some time in that.
We will be breaking down the making of this biryani into four parts.
- Preparing the rice
- Preparing the eggs
- Making the onion-tomato gravy
- And the final being layering the rice, gravy and eggs.

We hard-boil the eggs and then fry it in oil along with a few spice powders. These fried eggs are so delicious that you will want to take a bit off of that before even having it along with the biryani. The rice and the onion-tomato gravy can be cooked simultaneously so that you can start the layering process when both are done.
While making any biryani, the slow process of cooking each and everything is what makes it different from other dishes and also tastier. So, do not hurry. Take your time to prepare the biryani and then enjoy every mouthful of the biryani.
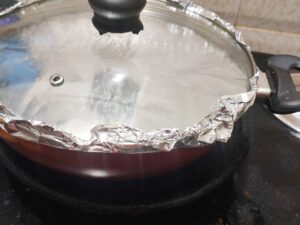
Make sure you seal the handi or the vessel tightly for the dum process. No steam should escape during the dum cooking. By doing this, we ensure that it is fully cooked inside and also all the flavors are infused well within every grain and every bite of the biryani.
Pair up Hyderabadi egg dum biryani with a spicy mirch ka salan or have it simple with just some onion or cucumber raita. Burani raita also tastes very well with this. So, enjoy this delicious Hyderabadi egg dum biryani with your family for a weekend brunch or even for an early dinner! Stay safe; stay healthy! Happy cooking and eating! Oh, and The Busy Apron is now in full swing. So, expect recipes frequently as before!
While you are here, do checkout my Thalapakattu style mutton biryani and also my chicken biryani recipes. Also, checkout my chicken tikka biryani recipe to prepare for a weekend brunch! Try out my other egg recipes too for a protein-rich meal!
Has meal planning been a little bit difficult during this lockdown? Look through my No Veggies, 21-Day Lockdown Series for ideas on what to cook during this lockdown.
If you have tried any of my recipes, then tag @the_busy_apron and share it on Instagram with the hashtag #thebusyapron. Also tag @TheBusyApron and share it on Twitter with the hashtag #thebusyapron
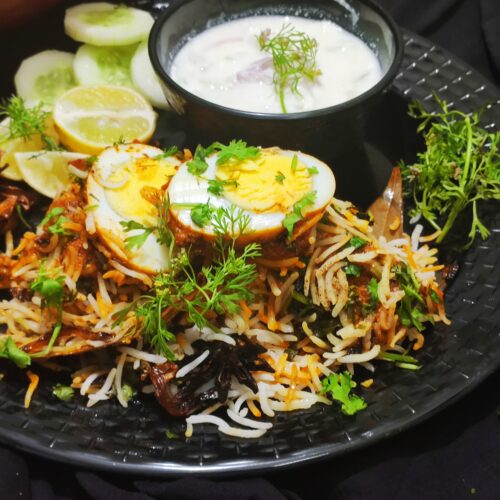
Hyderabadi egg dum biryani
Ingredients
To fry the eggs
- 5 hard boiled eggs
- 1 tsp ghee
- ⅛ tsp turmeric powder
- ½ tsp red chili powder
- ¾ tsp garam masala
- salt, as required
To cook the rice
- 1 cup long-grain basmati rice
- 5 cups water
- 2 green chilies, slit
- 3 bay leaves
- 2 inch cinnamon stick
- 6-7 cloves
- 3-4 whole black pepper
- 2 star anise
- a strand of mace
- 3 green cardamom
- 1 black cardamom
- ½ tsp lemon juice
- salt, as required
To make the barista (fried onions)
- ½ cup oil
- 1 large onion, thinly sliced
To prepare the onion-tomato gravy
- 2 tbsp ghee
- 1 tbsp oil
- 1 tsp shahi jeera
- 2 bay leaf
- 2 green cardamom
- 1 inch stick cinnamon
- few strands of mace flower
- 1 small onion, sliced
- 1 tbsp ginger garlic green chili paste
- 1 tsp red chili powder
- 1 tsp kashmiri chili powder
- ¼ tsp turmeric powder
- 2 tsp coriander powder
- 1 tsp garam masala
- ⅛ tsp nutmeg powder
- 1 large tomato, chopped
- ⅓ cup yogurt, beaten
- salt, as required
- 1 tsp kasuri methi
- handful of coriander leaves
To layer the biryani
- handful of mint leaves
- handful of coriander leaves
- 2 tbsp warm milk
- a few strands of saffron
Instructions
To cook the rice
- Wash and soak the rice in enough water for 30 minutes.
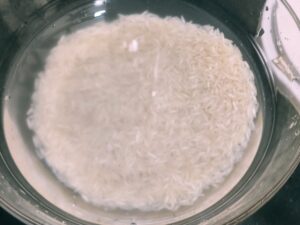
- To a large pot, except the rice, add all the other ingredients mentioned under "To cook the rice" and bring it to a boil.

- Drain the water from the rice and add it to the pot. Let it cook until 80 percent done.

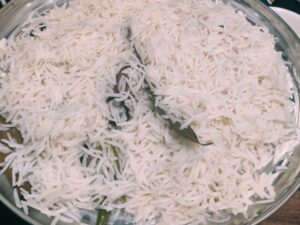
- Drain the water and spread the rice on a plate to cool down.
To make the barista
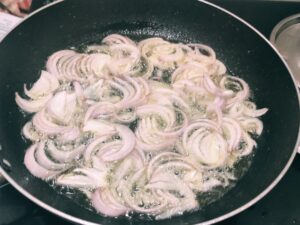
- Add oil to a pan on low-medium heat. When the oil is hot, add the sliced onions and fry until golden brown on all sides.
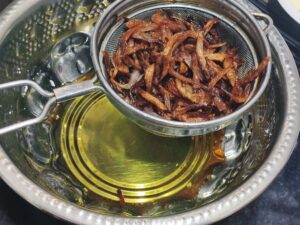
- Drain off all the oil from the fried onions. Reserve the oil for future use.
To fry the eggs
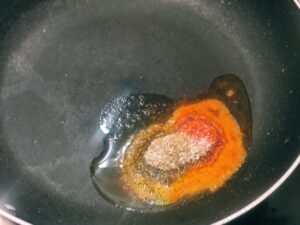
- Add ghee to a pan on medium heat. Add all the spice powders along with the required salt and mix in the oil.
- Prick the hard-boiled eggs with a fork and add it to the pan.

- Coat the eggs uniformly in the oil and roast them for a few minutes. Keep it aside.

To prepare the onion-tomato gravy
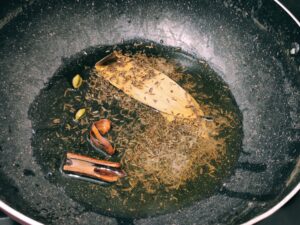
- Heat oil and ghee in a kadai on medium heat. Add all the whole spices and let them sizzle.
- Add sliced onions to the kadai and sauté till they turn golden-brown in color.
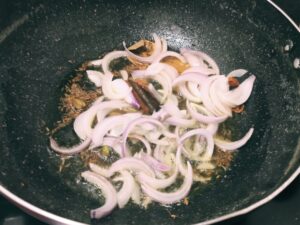
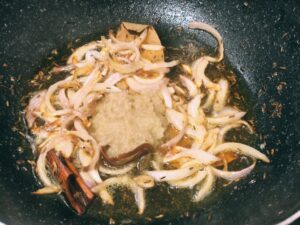
- Add the ginger garlic green chili paste and sauté for a few minutes.
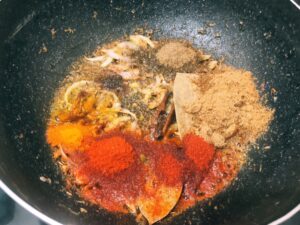
- Add all the spice powders and cook for a few more minutes.
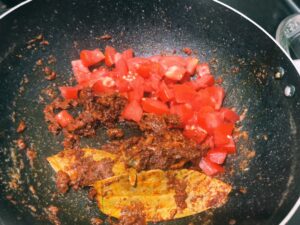
- Add the chopped tomatoes and cook until it turns soft and mushy.
- Add the beaten curd to the onion-tomato masala and mix well. Let it cook until oil separates.
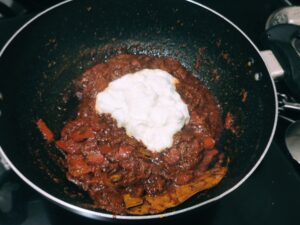
- Add crushed kasuri methi and mix well.
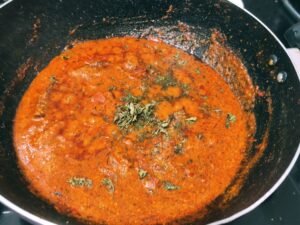
- Turn off the stove and add coriander leaves
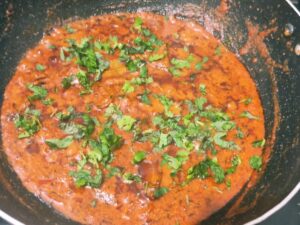
Layering the biryani
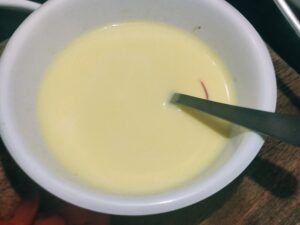
- Add a few strands of saffron to warm milk and let it sit for 15 minutes.
- To a large and thick pot, add half of the onion-tomato gravy and spread it.
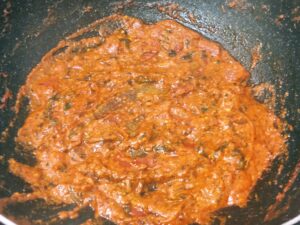
- To the layer of gravy, add half the rice and spread it evenly. Place the fried eggs on the rice layer.
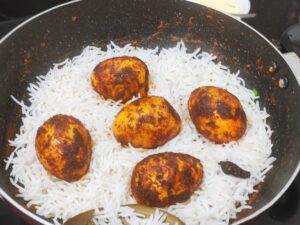
- Top the fried eggs with the rest of the gravy and half the fried onions, coriander leaves and mint leaves.
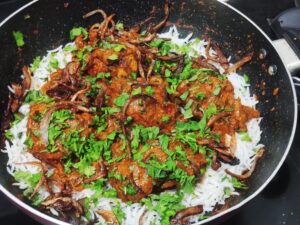
- For the final and top layer, add rest of he rice and spread it evenly. Top with other half of the fried onions, coriander leaves and mint leaves. Splash the saffron milk and some oil reserved from frying the onions. Meanwhile, heat a tawa on medium flame.
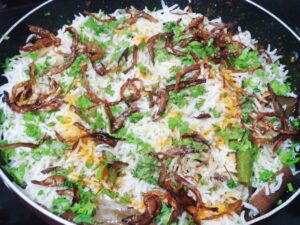
- Seal the pot with aluminium foil or dough and cover it with a tight lid. Place of the hot tawa and let it simmer for 10 minutes. Let it rest for an additional 10 minutes off the flame..
- Serve biryani hot with any raita of your choice.

Notes
- Use spice powders according to taste.
- While par-boiling the rice, use green chilies according to taste.
- Use the oil used to fry the onions in the biryani. This oil is infused with flavors and tastes great.
- While layering the biryani, you can also add rose water or kewra water for some extra flavors..
- While dum cooking the rice, make sure to seal the vessel completely so that no steam escapes

